Create WordPress Store Locator
If you run a business with multiple physical locations, having a store locator on your website can be incredibly useful for your customers. WordPress is a popular website platform that offers a variety of plugins, including store locator plugins.
These plugins allow you to easily integrate a store locator into your WordPress website, making it simple for customers to find your physical storefronts. In this blog post, we'll walk you through how to create a WordPress store locator using a plugin called Locatoraid.
We'll cover everything from installing the plugin to customizing the map and search features, so you can create a functional and attractive store locator for your business.
Automatic Installation
Fortunately, WordPress comes with the option of automatic installation of plugins. With this feature, you can easily search for and install plugins right from your WordPress dashboard, without having to download anything manually.
- In your WordPress admin, go to Plugins, Add New.
-
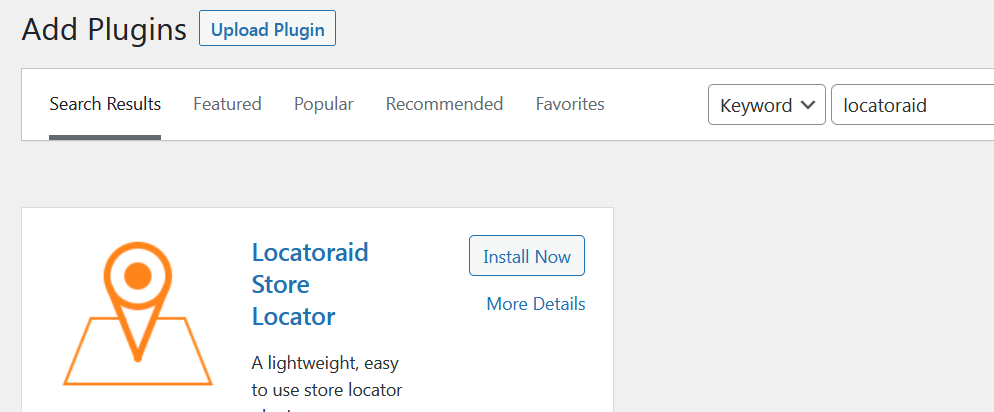
In Search plugins... type in locatoraid.

-
You'll get Locatoraid Store Locator as the first result. Click Install Now.
Manual Installation
While WordPress offers an easy-to-use automatic installation feature, there are still instances where you'll need to install plugins manually. Luckily, installing Locatoraid manually is not as daunting as it may seem, even if you're new to WordPress.
- Download the latest version of Locatoraid store locator plugin from WordPress website.
-
In your WordPress admin, go to Plugins, Add New, Upload Plugin.

- Upload the locatoraid.zip file that you get in step 1.
-
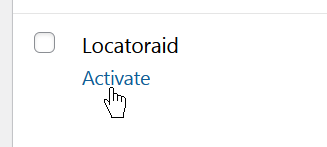
Get back to Plugins area of your WordPress, find Locatoraid and click Activate.
Create Google API Key
Locatoraid makes use of Google Maps and now the Google Maps Platform requires the usage of API keys and an active billing account.
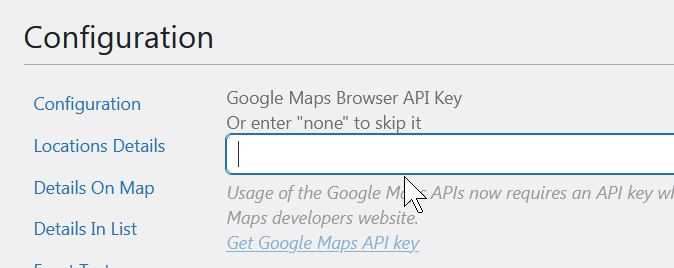
Once you get your Google API Key, set it into Locatoraid, Configuration, Google Maps.
Add Locations To Store Locator
Now you can go on by adding stores to your store locator plugin for WordPress. Go to Locatoraid, Locations, Add New. The New Location form is pretty straightforward and easy to fill in. All you need is the name of the store and its address.
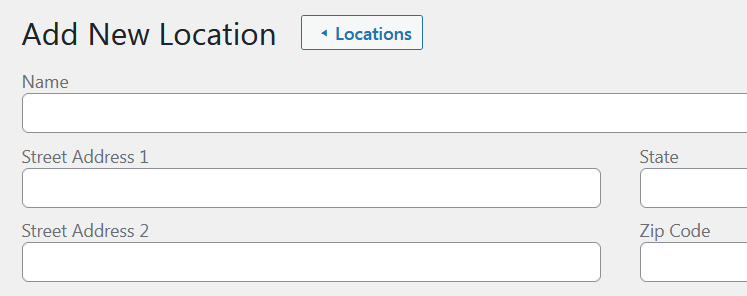
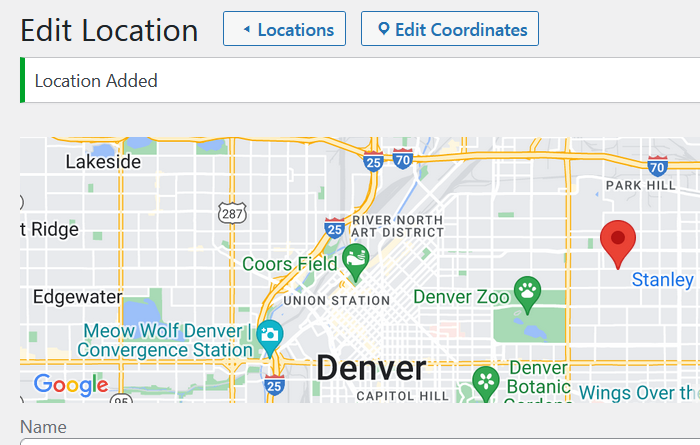
After your click Add New Location button, the store locator will save the data and automatically geocode, i.e. find the coordinates of your new store to display it on the map properly.
Display Front End
Locatoraid comes with a user-friendly front end interface that allows customers to search for store locations by name, city, or zip code. With this feature, customers can quickly and easily find the nearest store location, view store information, and get directions, all from one convenient location.
All you need is to add [locatoraid] shortcode to any page or post of your WordPress website.
This is the most simple form of a shortode, however Locatoraid also provides a bunch of advanced options for shortcode parameters to fine tune your store locator front-end page.
You can change almost every setting like default search text, search radius, front end view layout, limit store locator results to certain state or a country, and more. You may specify the radius of search options like search within 50 miles, then 100 miles, then 200 miles. There's an option to auto locate the current position of your site visitor to give them your stores closest to them.
Lightweight, easy to use WordPress store locator plugin to help your customers find your stores, dealers, hotels, restaurants, ATMs, products, or any other types of locations. Get started with the free Locatoraid version and enjoy the beautiful add-ons of Locatoraid Pro.
About Locatoraid